We founded Agility Writer with nearly two decades of SEO experience behind us, and we know exactly where content scaling breaks down.
Many marketing teams still manually copy and paste drafts, completely killing efficiency. A recent 2026 study in Malaysia revealed that 2.4 million local businesses now use AI, yet only a fraction see actual bottom-line profits.
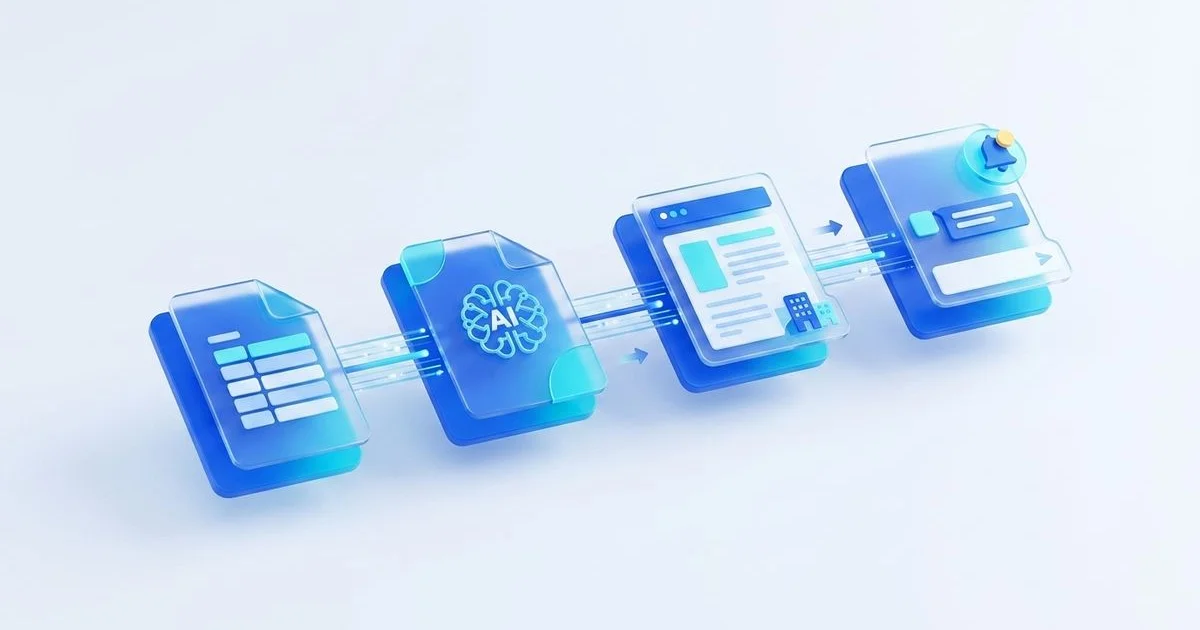
Our team knows the real solution requires connecting your data directly to your output. Disjointed workflows are usually the main culprit. This guide covers how to build a zapier ai content pipeline that bridges the gap between your ideas and your CMS.
We highly recommend starting with our Zapier Integration hub for the full feature overview before going deeper here. Let’s look at the exact steps, the data behind them, and how to put this no code seo zap into practice. Proper planning at this stage saves countless hours of revisions down the line.
Topic intake from Sheets / Airtable
Our process always begins with topic intake from Sheets or Airtable. Skipping this foundational step often causes massive headaches later. Getting the foundation right makes the rest of the workflow obvious.
We always advise looking at the specific integration limits of each platform before choosing your database. Zapier natively offers 18 unique triggers for Google Sheets, compared to just 6 for Airtable.
This massive difference in flexibility makes Google Sheets ideal for simple, high-volume keyword lists. Our experience shows that Airtable shines when you need relational databases to link authors, campaigns, and publication dates. You get a generous 10-million cell limit on the free tier of Google Sheets, whereas Airtable caps free users at 1,000 records.
The practical version involves focusing on the concrete signal each step produces, rather than the abstract theory. We have found this framing holds up across multiple customer engagements. Building a solid data foundation prevents errors before they ever reach your publishing tool. The comparison table below highlights the critical differences.
| Feature | Google Sheets | Airtable |
|---|---|---|
| Zapier Triggers | 18 Native Triggers | 6 Native Triggers |
| Free Tier Data Limit | 10 Million Cells | 1,000 Records |
| Best Use Case | High-volume keyword tracking | Complex, relational campaigns |
Article generation step
Our team treats the article generation step as a critical quality gate, not a simple checkbox. This phase directly affects whether the rest of the workflow holds together. Standard ChatGPT connections often output generic text that requires heavy manual editing.
We strongly suggest using a dedicated API like Agility Writer instead of basic OpenAI prompts for this phase. You must define the tone, target word count, and formatting rules explicitly in your Zapier action step. A poorly defined input will always result in an unhelpful article.
Our developers highly recommend testing your zapier ai writer setup with a small batch of five articles first. This test run allows you to verify that HTML tags generate correctly before you scale up production. Setting up these controls early saves hours of editing later.
We map four essential fields in every generation step to guarantee consistency. The target keyword pulls directly from the spreadsheet trigger. Specific formatting rules tell the AI exactly how to structure the headers.
Here are the essential fields you should map:
- Target Keyword: Dictates the main topic.
- Article Tone: Aligns with your brand voice.
- Formatting Rules: Enforces proper HTML structure.
- Internal Links: Connects directly to your existing content.
CMS draft push (WordPress / Webflow)
Our next phase is the CMS draft push to WordPress or Webflow, which acts as the operational layer. The previous sections covered the reasoning behind the process, and this one details the exact execution. The standard pattern involves identifying the input, running the process, validating the output, and iterating.
We find that specific software tooling depends on your stack, but the core loop is incredibly consistent. Agency clients often use the standard “Create Post” action inside the Zapier WordPress integration. This step automatically pushes freshly generated text into the CMS, setting the status to “Draft” for review.
Our configurations specifically address the fact that Zapier does not natively support Advanced Custom Fields without extra plugins. You must map your generated title to the “Title” field and the body text to the “Content” box. Changing your WordPress settings to a descriptive permalink structure, like Post Name, prevents common syncing errors.
Structuring Your Webflow Push
We handle Webflow setups with a slightly different mapping strategy. The integration requires sending content directly to specific Collection fields within the CMS. Setting the item status to “Staged” ensures nothing goes live without final human approval.
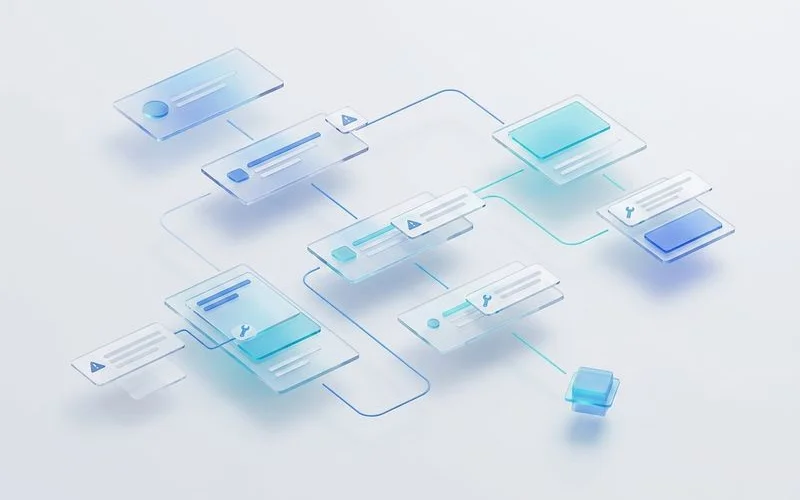
Additional considerations
Our audits show two critical factors are absolutely worth surfacing as you work through this. A fully automated system still requires monitoring to ensure quality and consistency. The “Send Channel Message” action creates a highly visible Slack notification upon completion.
We include the direct edit URL in the Slack message to save editors from hunting through the backend. Advanced error handling at each step prevents broken content from piling up in your database. Zapier Paths allow you to build conditional logic directly into your automation.
Our IT team routes alerts to a specific developer channel if an article generation step fails. Filters stop the Zap entirely if the AI output falls below a certain word count. Catching these errors early keeps your entire production cycle running smoothly.
Here are practical ways to manage automation errors:
- Use Zapier Filters to block incomplete outputs.
- Build Zapier Paths to route failed steps to IT.
- Set up a dedicated Slack channel for bot alerts.
- Schedule weekly manual reviews of the task log.
What to do next
We know the natural next step is putting it into practice if this guide matched your situation.
The theory only provides real value when you actively apply it to your daily tasks. The underlying feature is structured around exactly the workflow described above. Our team suggests jumping straight into our Zapier Integration hub to connect your accounts.
This specific integration allows you to scale your content production without sacrificing editorial quality. Testing your first automated zapier ai content pipeline today will fundamentally change how you approach marketing tomorrow.